Getting up & running. The fast way.
Prerequisites
In this tutorial we assume that you are comfortable working with Docker, Git and the Terminal. In addition to this you would need a Firebase account and your dev. machine should be configured to work with React-Native projects.
warning
The tutorial was tested on a Mac. You should be able to run the Android version of the app on Linux or Windows, but some things might be different.
The Trustline app relies on a Relay server for its communication with the Gnosis Chain. Especially at the beginning, when you just want to get started, it is a daunting task to set up everything. In this tutorial we'll take a shortcut. Instead of setting up a Relay server that will communicate with the Gnosis chain , we'll use a utility that the maintainers of the Trustlines Protocol use for e2e tests.
The tool in the end2end repository relies on Docker and sets the followings:
- A development Ganache node that automatically mines a block when it receives a transaction
- A relay server
- A py-eth-index instance to index events for the relay
- A Postgres database
- A contracts docker image that will deploy test currency networks, exchanges, and identity contracts
- A gnosis-safe-relay server that creates identities and relays transactions
info
By using the end2end utility you won't be sending transactions to Gnosis Chain, but instead to a local dev chain. This way you don't have to pay for transactions when you get started. At a later stage when you move to production you'll have to properly configure your relay server to communicate with the Cnosis chain.
Let's Get Started!#
First, clone the end2end repository
Now go inside the created end2end repo
You could already try to run the run-e2e.sh script, but chances are that this will fail. The tool in the end2end
repo isn't versioned and running always from the HEAD of the master branch wouldn't always succeed. At the time of
writing this tutorial one couldn't successfully launch the relay server, so let us checkout a version of the end2end
library that we know works:
Now start the relay with the following command
note
We are starting the e2e script with the -b flag - this tells the script to start everything except for the e2e tests.
Once the script is ready you should see output similar to this:


Let's spend a few seconds to look over the output (you can click on the image to view it in full size). The most important lines are:
Notice the Identity proxy factory, Identity implementations, GnosisSafeL2 & 0x74bF4E15576B145dfc51de0484d9553c50DF2645 addresses.
You'll need them later for the .env configof the app. The output also tells you that 3 currency networks were deployed Cash, Work Hours and Beers. Those
currency networks will be later available in the app once it is connected to the relay server.
Now let's configure the Trustlines App to use this backend.
Let's clone the Trustlines app
enter the trustlines app directory:
Firebase
Before you can install the developer dependencies you'll need to create a Firebase Project in the firebase console
Once ready you should see a screen similar to this one:
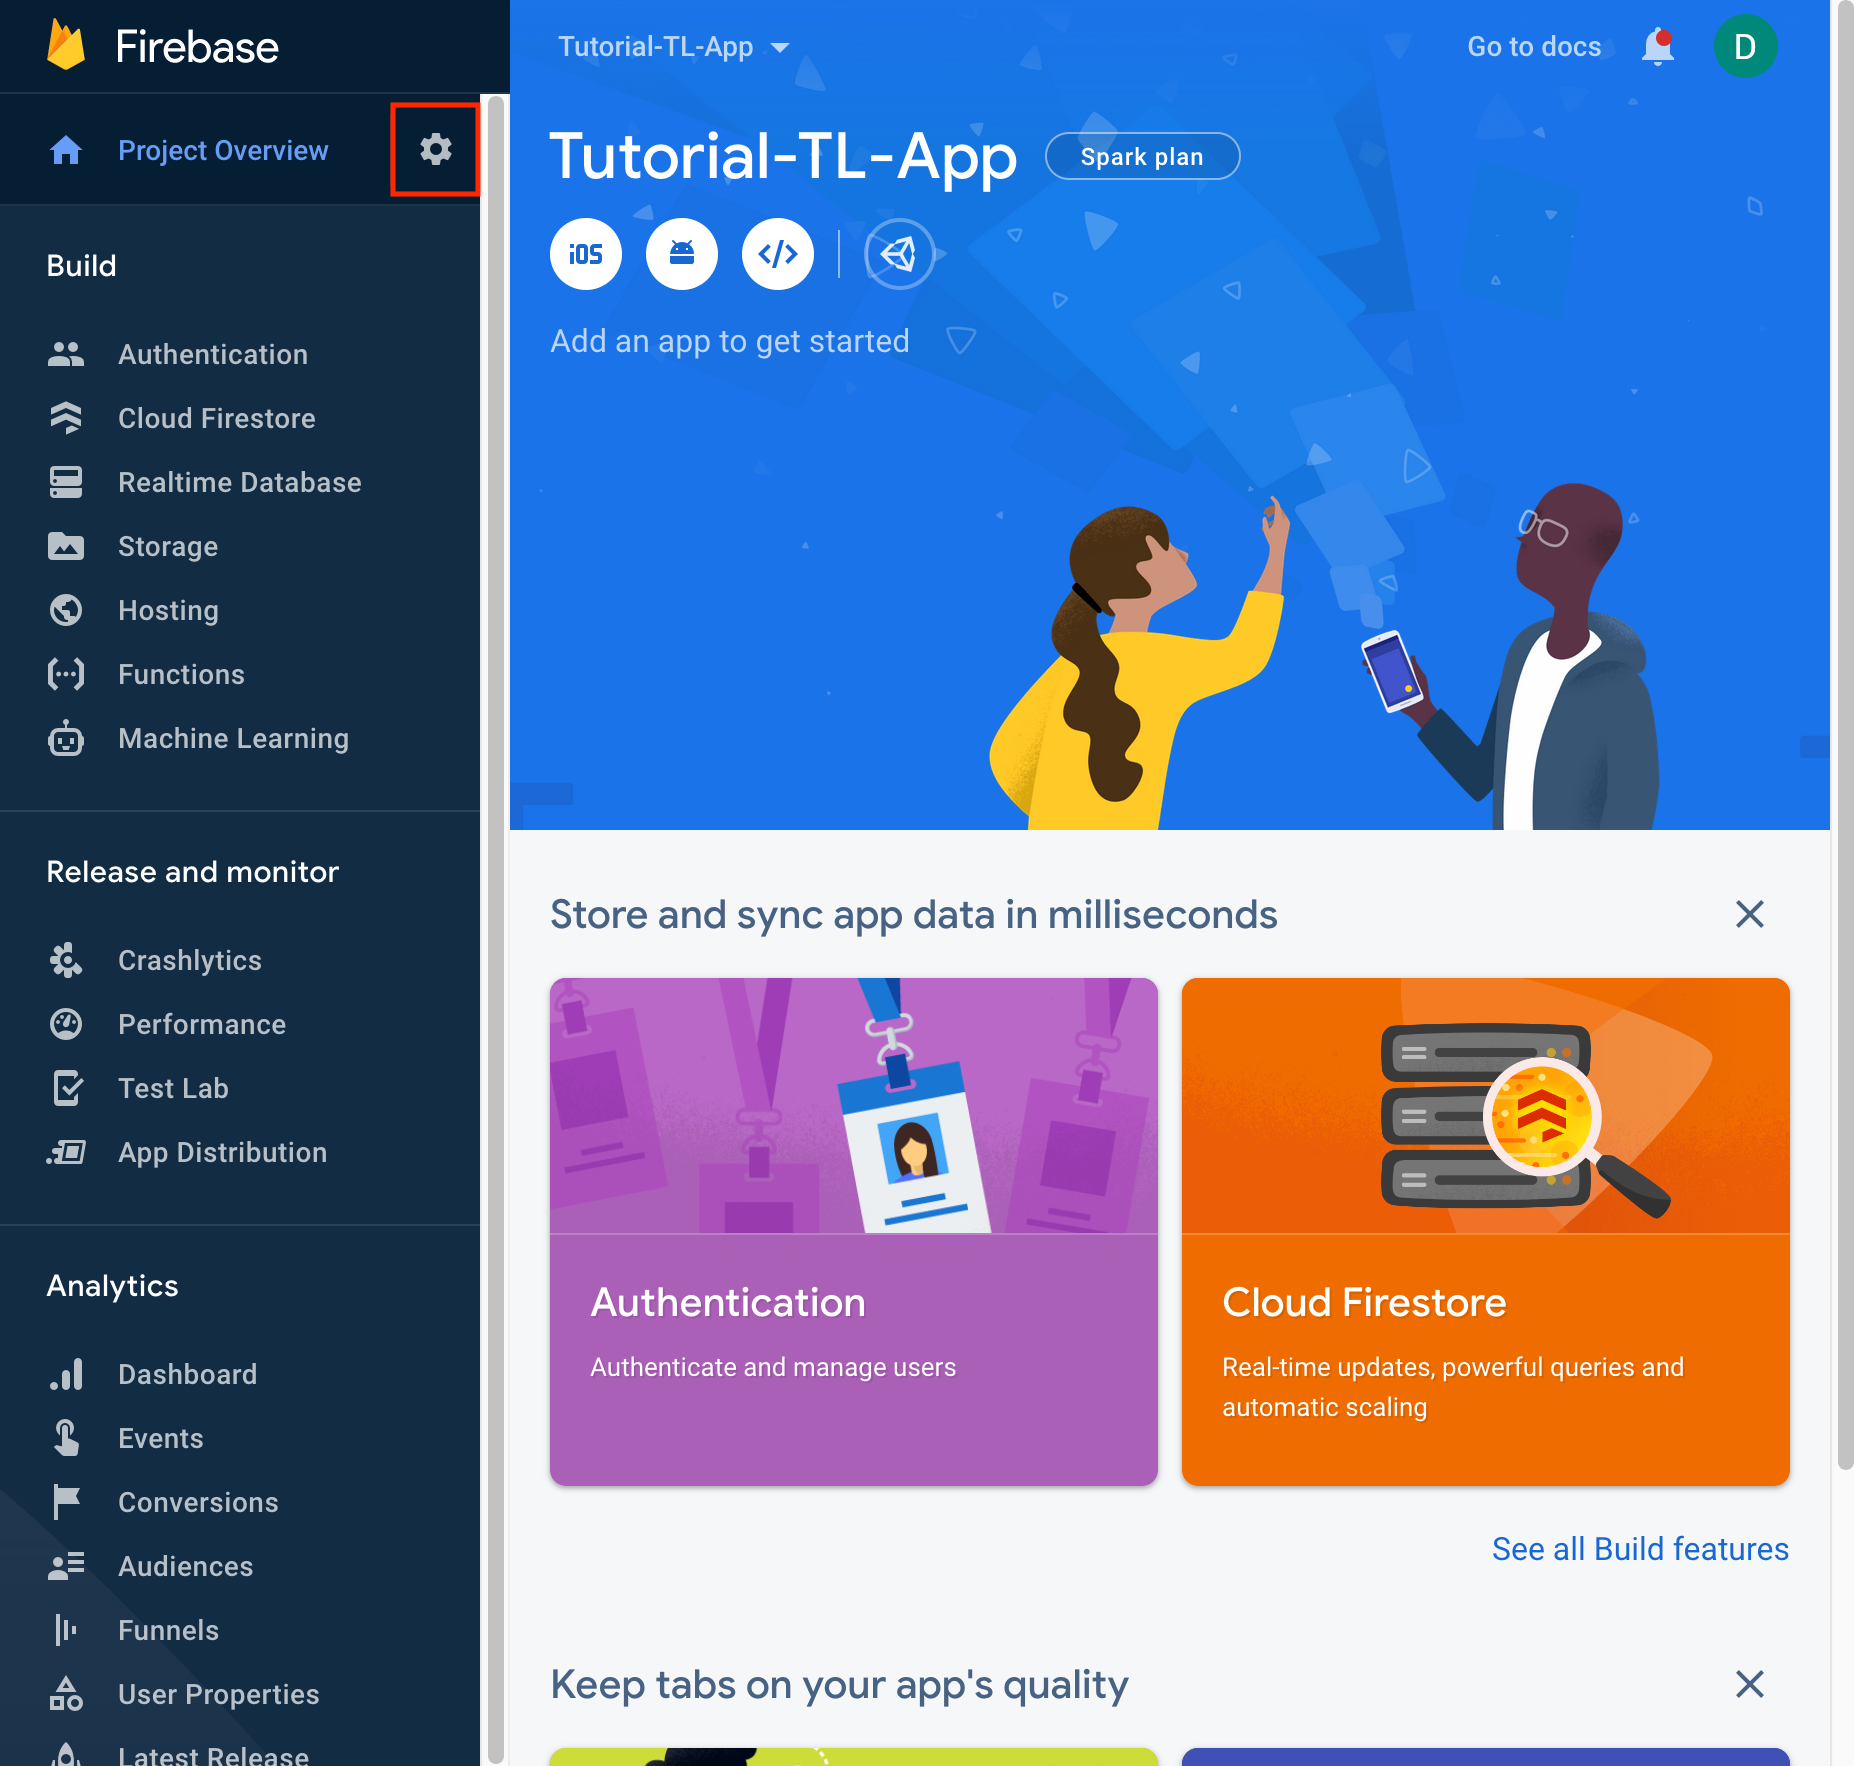
Click on the cog wheel to enter the project settings and create iOS and Android Apps there
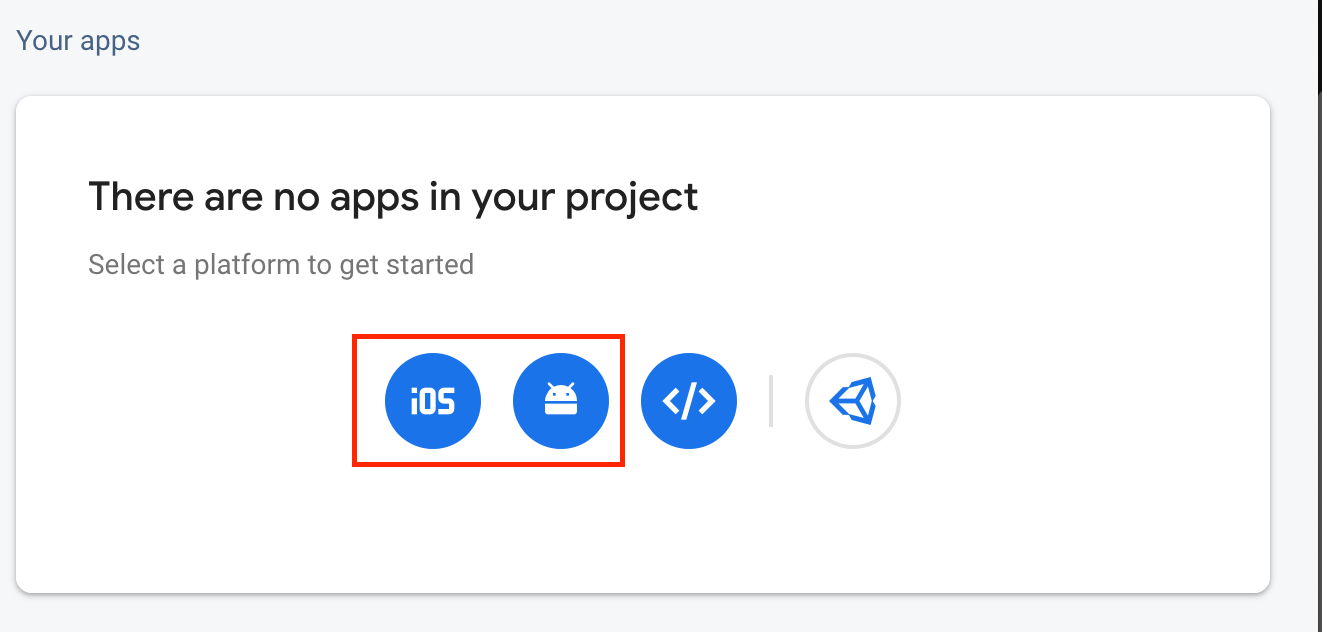
warning
To make your experimentation easy when asked for iOS bundleID enter: beercoin.io.mobileapp.develop and for android
package name enter: network.trustlines.mobileapp.develop.debug. You won't be able to distribute the app you build
through the App/Play store with those ids, but that's not the goal here anyway. Once you experiment with the
Trustlines app and you are ready to distribute it through the App/play store you can create new apps in Firebase with the
correct bundle ID and package name.
When creating the iOS app Firebase will offer the GoogleService-Info.plist file for download. Download it and store it
in the firebase/ios/** folders.
When creating the Android app Firebase will offer the google-services.json file for download. Download it and store it
in the firebase/android/** folders.
info
You might wonder: "Why do I need to store the firebase files in develop, staging and production folders?". The answer is simple. By default the Trustlines App is configured to work in 3 modes - develop, staging and production. You can specify different configurations for each of those modes. For simplicity, in this tutorial we'll reuse the same config everywhere.
Now that you've placed the firebase files in the correct folders, you can continue by initializing the dependencies. In the terminal run:
- npm
- Yarn
Once this is complete, if you plan to run the iOS version of the App you need to execute the following command:
This command will navigate to the ios folder, inside of it, it will call pod install and once the cocoapods installation is complete, it will go back to the main mobileapp folder.
Now you need to modify some .env variables. In the mobileapp folder you should see an .env.dist
file, copy it and rename it to .env.develop. Now open the .env.develop file and you should see something like this:
Now you should be ready to Rock & Roll!
- iOS
- Android
If using npm run:
if using Yarn run:
If using npm run:
if using Yarn run:
caution
If when you build the iOS app you get a The following build commands failed: CopyPlistFile .../mobileapp-fmklahskitxufpgbffpdozahumyf/Build/Products/Release-iphonesimulator/mobileapp-develop.app/GoogleService-Info.plist .../mobileapp/ios/mobileapp/GoogleService-Info.plist
error, just restart the build, and it should be fine.